Documentation for C-Werk 2.0.
Previous page Next page
To configure the Web-Client, do the following:
- Click the
 button in the top right corner and select Preferences.
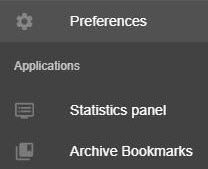
By default, when you switch to another tab in the browser and minimize it, the video stream transmission stops. In order not to interrupt the video stream transmission, disable the Disconnect stream when inactive parameter (1). This setting is common to all Web-Client users in a particular browser.
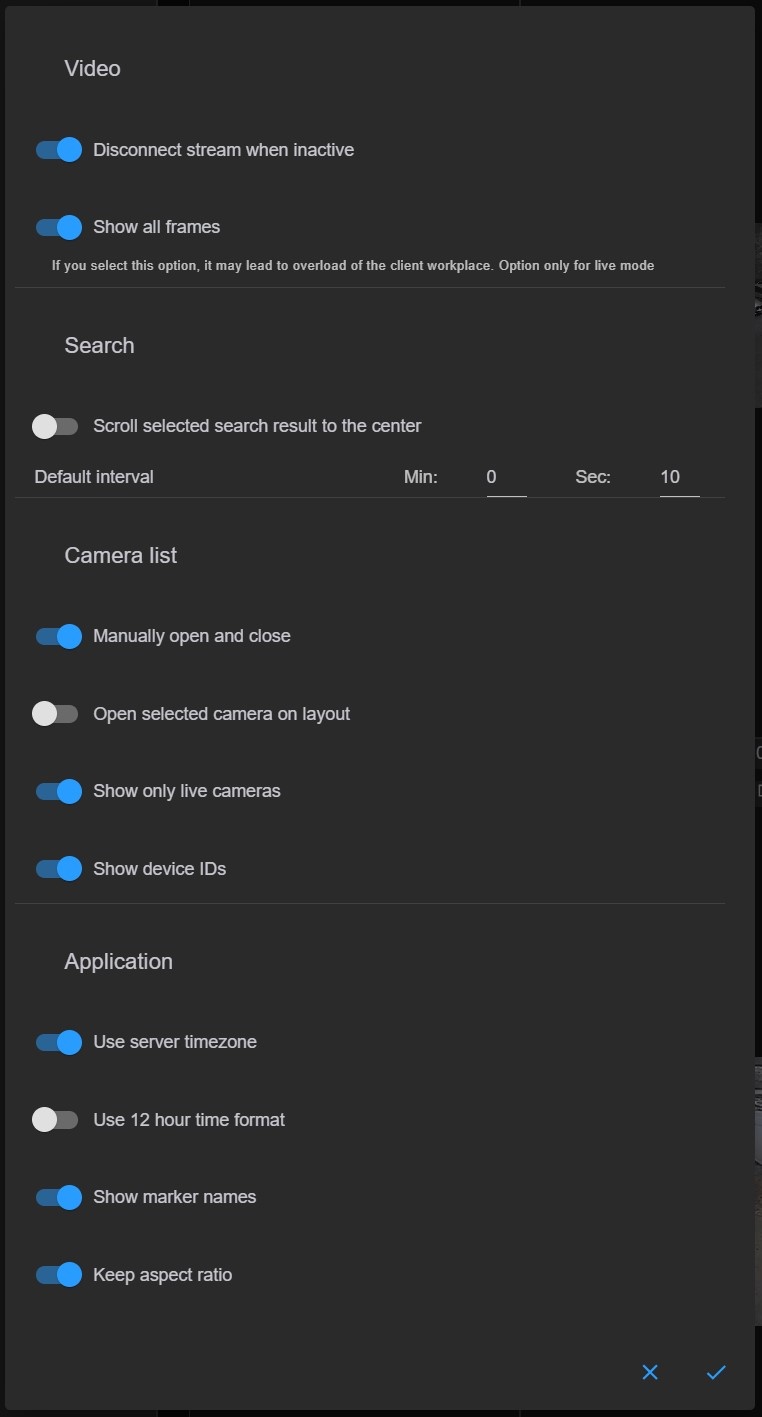
By default, in the video on the layouts, all frames are displayed. To reduce the load, you can disable the Show all frames parameter (2). As a result, on a layout with several video cameras, video playback will only be by key frames, and only when you select a specific camera, all frames will be displayed. The parameter does not affect the archive video, as archive videos are always played back by all frames. This setting is common to all Web-Client users in a particular browser.
Note
The parameter does not affect the MJPEG video format, as all frames in it are key frames.
- To position the found fragment in the center of the screen, enable the Scroll selected search result to the center parameter (3). This setting is common to all Web-Client users in a particular browser.
Set the default interval for the TimeSlice (4, see Types of archive search in the Web-Client). This setting is common to all Web-Client users in a particular browser.
- By default, the Cameras panel does not close after you select a device. To minimize the panel, disable the Manually open and close parameter (5). This setting is common to all Web-Client users in a particular browser.
When you select a camera in the Cameras panel, a layout containing the selected camera will open. If there are several such layouts, then the one with fewer cells is selected. To expand the video camera to full screen, disable the Open selected camera on layout parameter (6). This setting is common to all Web-Client users in a particular browser.
- By default, the Web-Client displays only the enabled cameras. If you want the Web-Client to display all cameras, disable the Show only live cameras parameter (7). This setting is common to all Web-Client users in a particular browser.
- By default, the Web-Client displays the cameras IDs. In order to disable the cameras IDs display, disable the Show device IDs parameter (8). This setting is common to all Web-Client users in a particular browser.
- By default, the Web-Client cameras and bookmarks display the Server time. If you want the Web-Client cameras and bookmarks to display the client time, disable the Use server timezone parameter (9). This setting is common to all Web-Client users in a particular browser.
- By default, the Web-Client displays time in the 24-hour format. If you want the time to be displayed in the 12-hour format, enable the Use 12 hour time format parameter (10). This setting is common to all Web-Client users in a particular browser.
- If you can view the interactive map in the Web-Client, the names of all camera markers added to the map are displayed by default. To disable the display of marker names on the interactive map, disable the Show marker names parameter (11). This setting is common to all Web-Client users in a particular browser.
- By default, in the Web-Client, the size of the surveillance windows in the layout is proportional to the resolution of the video image. To ensure that the video image takes the entire space of the surveillance window, disable the Keep aspect ratio (12) parameter. As a result, the video image will be stretched over the entire surveillance window. This setting is common to all Web-Client users in a particular browser.
- Click the
 button.
Configuring the Web-Client is complete.
Changing the user password in the Web-Client
To change the user password in the Web-Client, do the following:
- Click the
 button in the top right corner and then click the
  button.
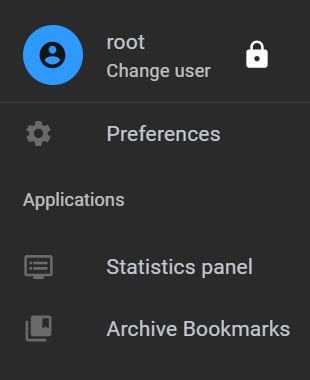
- In the window that opens, enter the new password and confirm the new password.
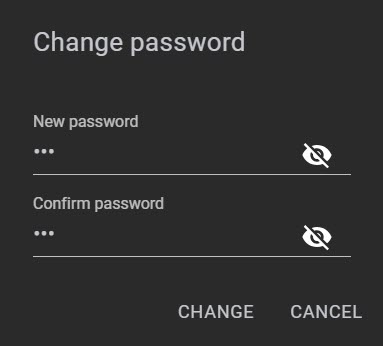
- Click the Change button.
Changing the user password in the Web-Client is complete.
Overview
Content Tools